Understanding the Roofing System
Learn how roof framing, decking, underlayment, flashing, pitch, and ventilation work together to protect your home...
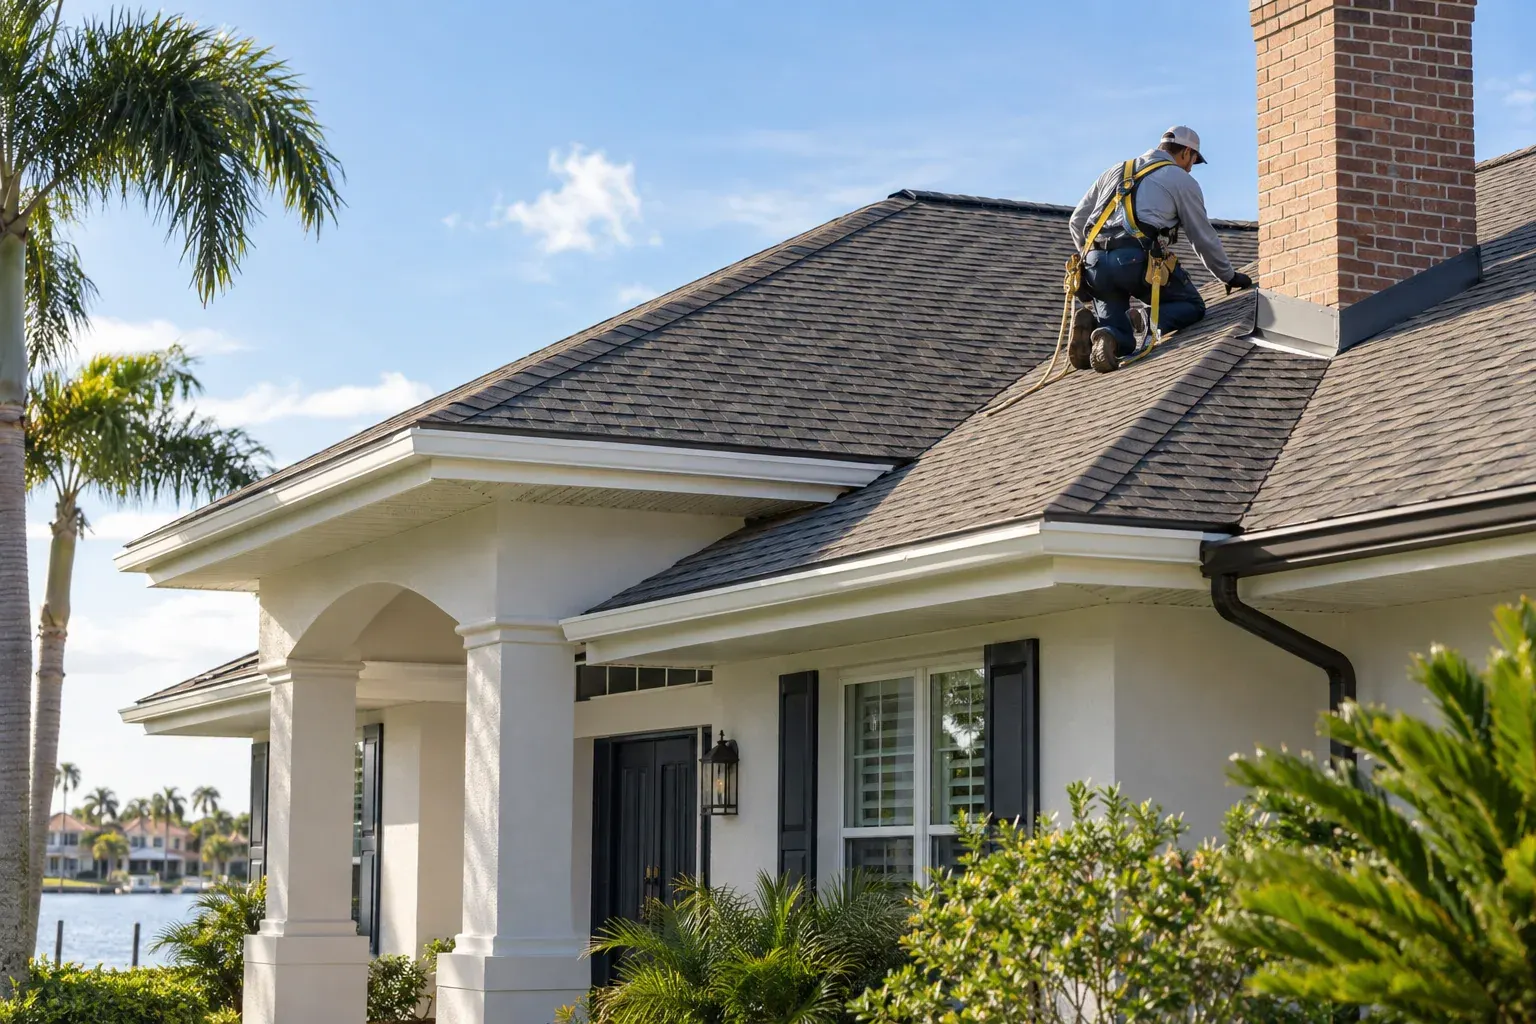
The roof is one of the most important parts of a home. It helps provide comfort, security, protection from the elements, curb appeal, and property value. But the visible covering is only one part of the whole system.
A roofing system is a set of connected components. When one part has a problem, it can affect the performance of the others. Understanding the basics can help homeowners have more useful conversations with roofers in Tampa Bay and make more informed maintenance, repair, and replacement decisions. This guide brings together the structural, protective, drainage, and ventilation topics that homeowners most often need to understand.
What Makes Up a Roofing System?
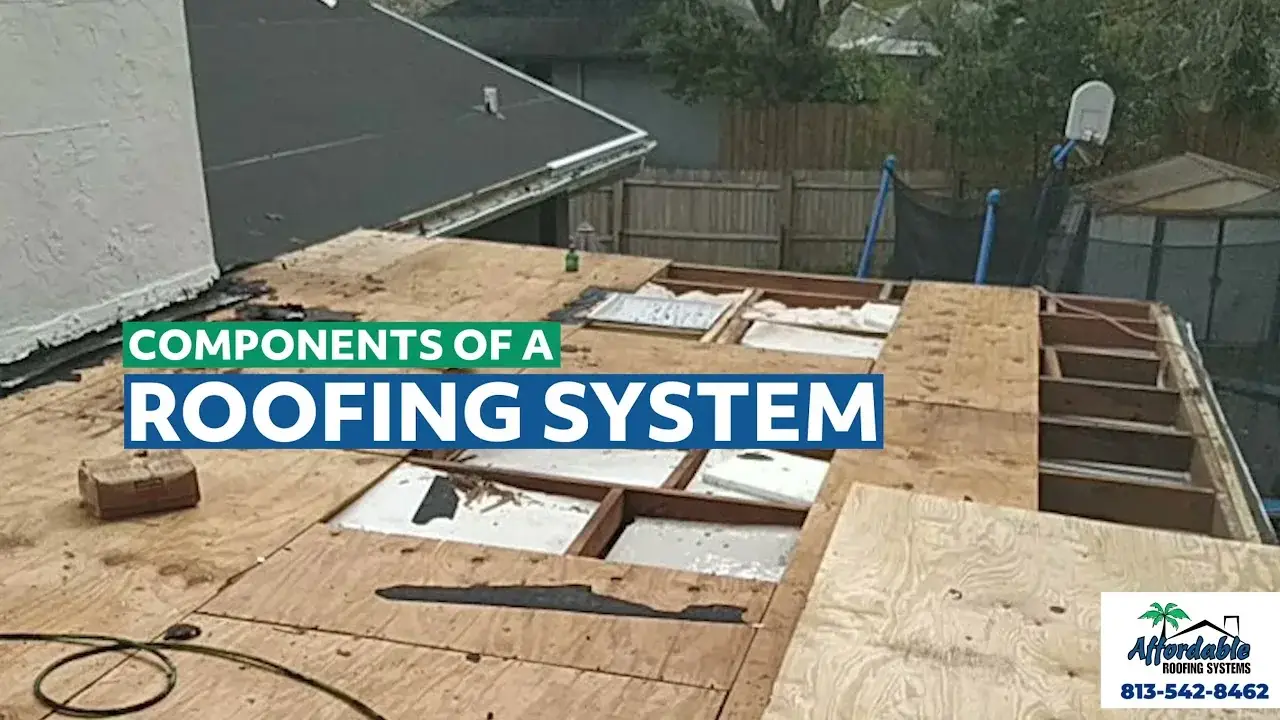
A complete roofing system starts with the structural base. Roof trusses or rafters form the framework below, and roof decking—often plywood or oriented strand board (OSB)—spans that framework to create a platform for the rest of the roof. The underlayment, exterior covering, flashing, and ventilation are then installed as coordinated layers above or around that base.
This is why a roof should not be evaluated only by looking at the shingles. Water, heat, moisture, pests, or age can affect parts that are out of sight. A visible issue at the surface may point to a problem in the roof deck, at a transition, or in the attic below.
Structural Framing: Trusses and Rafters
Trusses and rafters are the roof’s supporting framework. Rafters generally run from the ridge down toward the exterior walls, while trusses are engineered assemblies that distribute the roof load across the structure. Both provide the shape and support needed for the deck and roofing materials above.
When moisture enters a roof system, the framing can be affected long before the exterior covering looks seriously damaged. Staining, sagging, recurring leaks, or a musty attic smell are reasons to have the system evaluated rather than assuming a surface-only repair will solve the cause.
Roof Decking: The Platform for Everything Above
Roof decking creates the flat, continuous surface between the framing and the weatherproofing layers. It gives installers a stable base for underlayment, fasteners, shingles, tile, or metal panels. Because the deck is concealed, its condition is often confirmed during an inspection or when roof work exposes the layers above it.
A compromised deck can make an otherwise sound-looking roof unsafe or less reliable. Keeping water out, maintaining proper attic airflow, and correcting leaks promptly all help protect this key part of the system.
How Roofing Layers Manage Water
The roof covering is the part most people see, but it works because several layers manage water together. Underlayment sits between the roof deck and the outer covering to provide an additional water-resistant layer. The covering sheds most water, while the details at ridges, valleys, walls, chimneys, skylights, and vents direct water away from vulnerable areas.
The appropriate materials and details depend on the roof system, its slope, exposure, and manufacturer requirements. A roof’s water-management strategy is not one product; it is the way its layers overlap, drain, and protect transitions.
Why Underlayment Matters
Underlayment is the water-resistant material installed over the roof deck and beneath the primary covering. It helps separate the deck from the covering, supports the system’s water-shedding design, and provides another layer of protection if wind-driven rain gets past the exterior material.
It is especially important to view underlayment as part of the complete assembly. Its material, placement, overlaps, and compatibility with the roof covering should be selected for the specific roof rather than treated as an interchangeable layer. Damaged or improperly installed underlayment can allow moisture to reach the deck even when the visible surface looks mostly intact.
The Exterior Covering and Ridge Details
Shingles, tile, metal panels, and other roof coverings form the outermost weather-facing layer. They are installed in a pattern that overlaps so water sheds down the roof instead of being driven beneath it. At hips and ridges, specially designed caps or compatible details protect changes in direction and the uppermost transitions.
Worn, cracked, displaced, or missing covering materials can expose the layers below. Addressing those changes early helps limit the chance that water will move from a small surface issue into the deck, framing, or interior of the home.
Flashing Protects Critical Transitions
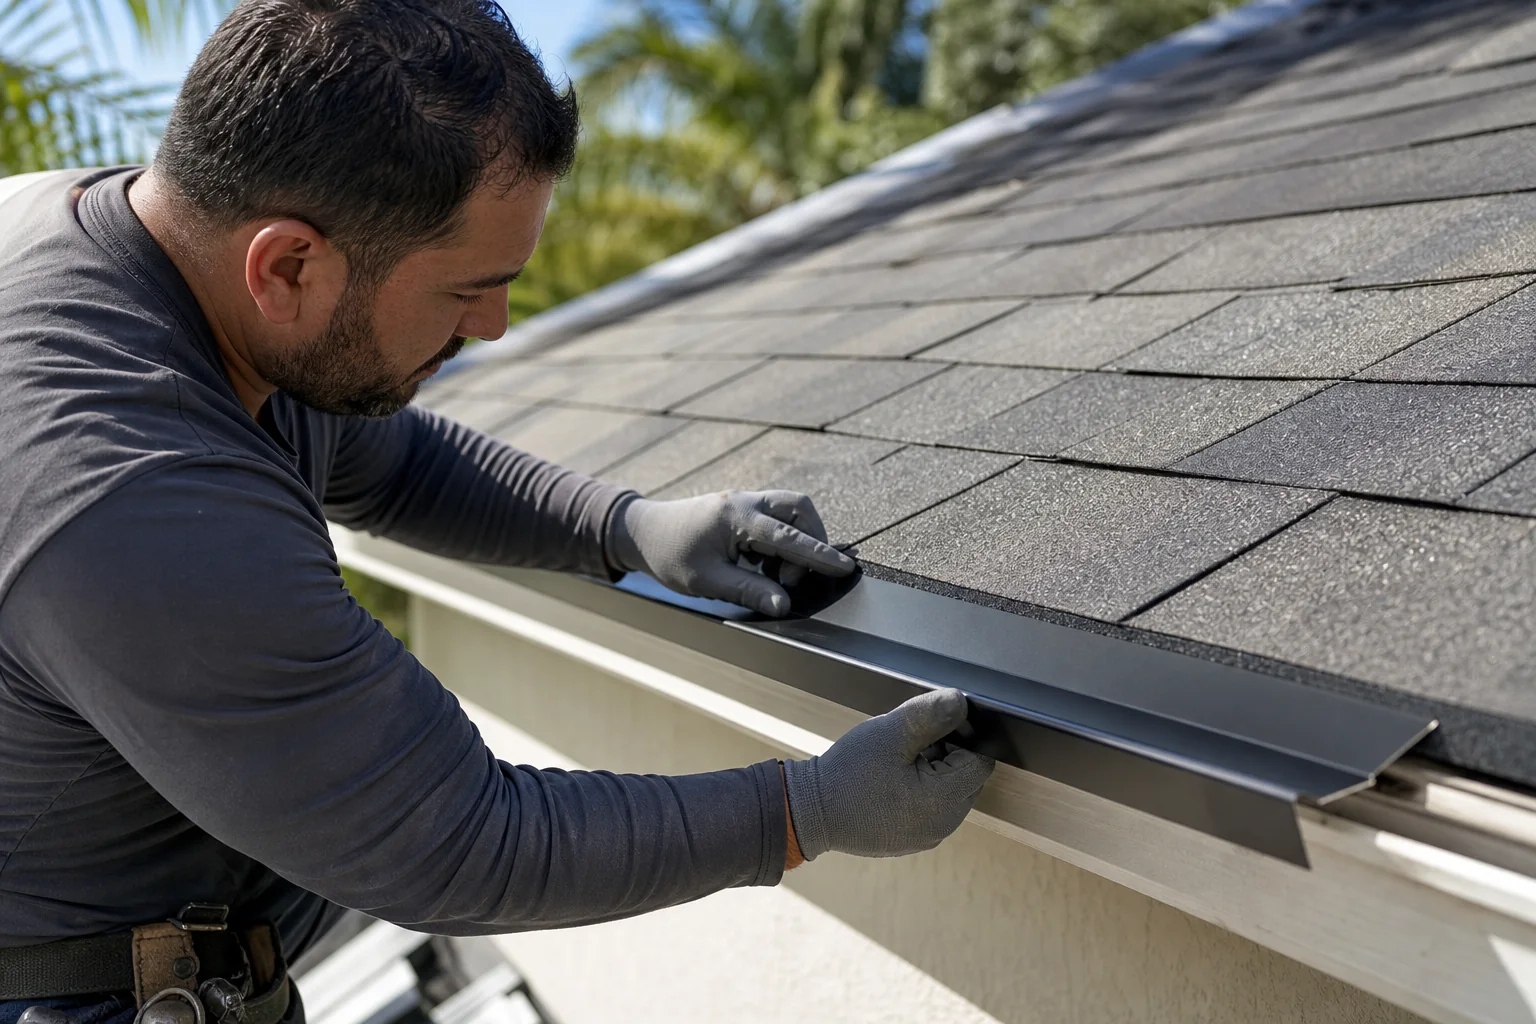
Flashing is installed where the roof meets another surface or where an object passes through the roof. Common examples include chimneys, walls, skylights, vents, valleys, and other penetrations. These locations need extra attention because the simple overlapping pattern used across an open roof field cannot protect every change in plane or opening.
A flashing problem may show up as lifted metal, cracked sealant, loose material, staining, or a leak after heavy rain. It should be evaluated in context with the surrounding covering and underlayment, since a repair at the visible joint may also require checking the materials that direct water toward it.
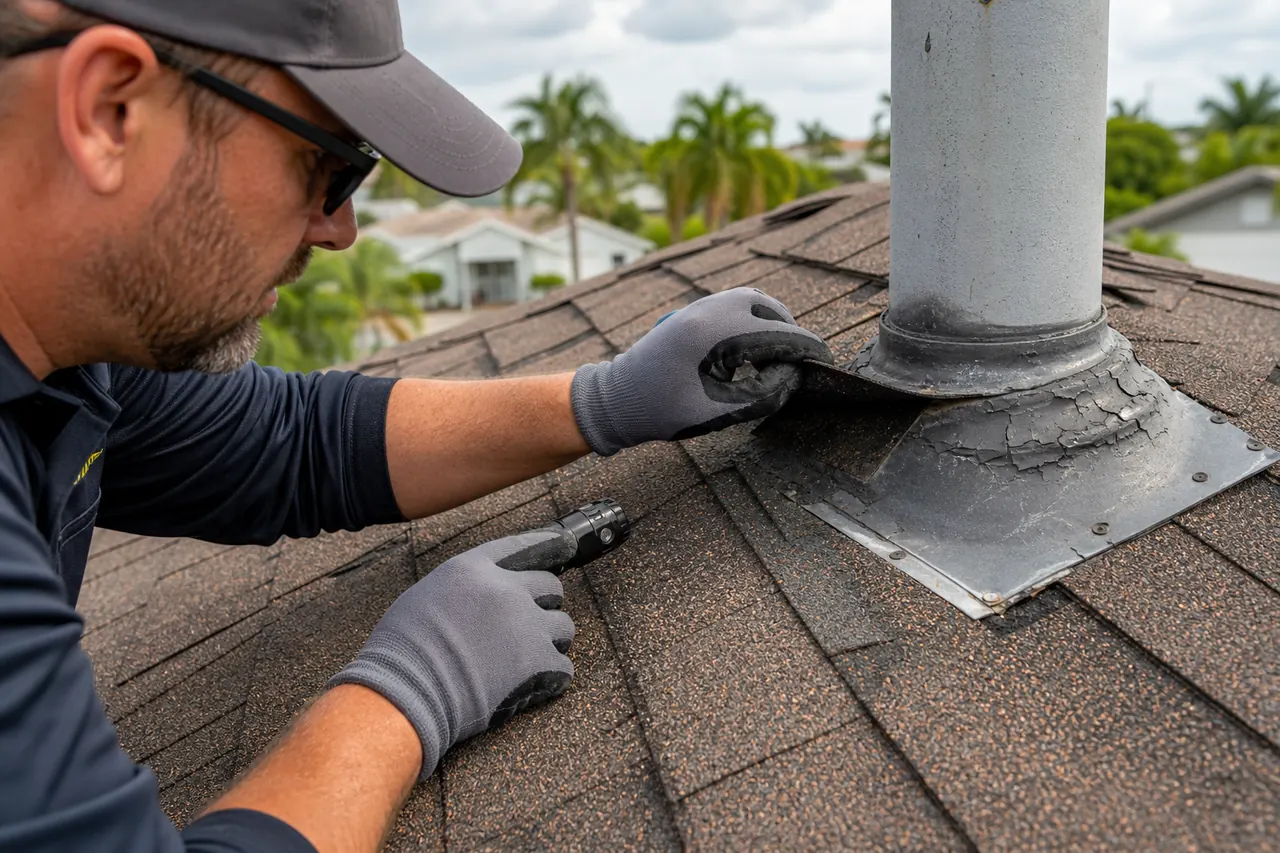
Common Flashing Locations to Watch
A chimney needs flashing where its vertical masonry meets the roof surface. A skylight, pipe vent, or other penetration needs a detail that directs water around the opening. Roof-to-wall intersections often use step flashing or another layered approach, and valleys need materials that guide runoff where two roof planes meet.
The exact detail varies by roof covering and location, but the principle stays the same: water should move over and away from the transition, not sit against it or find a path behind the outer covering. That is why inspection of flashing includes the surrounding roofing materials, not just the visible metal.
Roof Shape, Pitch, and Material Choices
Roof pitch describes how much a roof rises over a given horizontal distance. It influences how water runs off, how debris may accumulate, the detailing a roof needs, and which roofing systems are appropriate. The roof shape also affects valleys, ridges, walls, and other transitions that must be protected.
Materials are not chosen by appearance alone. The roof’s pitch, structural design, climate exposure, drainage needs, maintenance requirements, and manufacturer instructions all help determine whether a system is suitable.
What Roof Pitch Means
Pitch is commonly expressed as a ratio of vertical rise to horizontal run. A 4:12 roof, for example, rises four inches for every twelve inches of horizontal distance. This measurement helps roofing professionals assess how water will move across the surface and what installation details the system requires.
Pitch also affects access, drainage, and material selection. A roof with a low angle needs a different water-management approach than a steeper residential roof, even when both are protecting similar homes.
Identifying Your Roof Type Before Planning Work
Start by identifying the outer covering, the general roof shape, and whether the roof is steep-slope or low-slope. Asphalt shingles, tile, metal, and membrane systems have different layouts and service needs. A roof may also combine multiple slopes, materials, or drainage conditions, particularly where additions or porches meet the main house.
Knowing the roof type helps you ask better questions about compatible materials, underlayment, flashing, ventilation, and repair methods. It also helps avoid assuming that a treatment appropriate for one area of the roof will be appropriate everywhere else.
Low-Slope Roof Systems
Low-slope roofs have a relatively shallow angle and move water more slowly than steep roofs. Their design depends heavily on drainage, seams, edge details, and materials intended for lower slopes. Common system categories can include single-ply membranes, modified bitumen, metal panel systems, built-up systems, and other compatible assemblies.
Because water does not shed as quickly, standing water, blocked drains, damaged seams, and failed flashing deserve prompt attention. A low-slope roof should be inspected according to the needs of its particular material and drainage layout rather than judged by steep-slope roofing rules.
Steep-Slope Roof Systems
Steep-slope roofs are common on homes and usually shed water more quickly. Asphalt shingles, tile, metal, slate, wood shakes, and synthetic materials can be used on appropriate steep-slope applications. Their appearance and runoff behavior can be an advantage, but valleys, penetrations, and ridges still require correct layers and details.
The goal is not to assume one pitch is better than another. It is to make sure the selected materials and installation method are compatible with the roof’s angle and the home’s complete roofing system.

Ventilation, Soffits, and Ongoing Care
Balanced attic ventilation moves air through the space beneath the roof. Intake openings, often located at or near the soffits, work with exhaust vents nearer the top of the roof to help release heat and moisture. When airflow is restricted, excess heat or moisture can affect shingles, the roof structure, and indoor comfort.
Ventilation is therefore a performance issue, not an afterthought. It supports the roofing materials above the attic while helping the home manage heat and humidity below them. The right approach depends on the attic layout, existing openings, insulation, and roofing system.
The Role of Soffits and Air Intake
Soffits are the finished surfaces beneath roof eaves. In a ventilated system, they may contain intake vents that allow outside air to enter the attic. That incoming air works with exhaust vents higher on the roof to create continuous airflow through the attic space.
Blocked, damaged, or painted-over intake openings can reduce that airflow. During an inspection, it is useful to look at soffits, ridge or exhaust vents, attic conditions, and roof covering performance together rather than treating each as an unrelated feature.
How Ventilation Supports the Rest of the System
Effective attic airflow depends on a path for air to enter and a path for it to leave. Intake near the eaves and exhaust closer to the ridge work together; adding one type of opening without considering the other may not create the continuous circulation the attic needs. In Tampa Bay’s heat and humidity, that relationship is worth evaluating alongside insulation, attic access, and the roof covering above it.
Ventilation is not a substitute for repairing a leak, replacing damaged flashing, or correcting failed underlayment. It is one part of the larger system. A complete roof evaluation distinguishes a water-entry problem from an airflow issue, then considers whether both conditions are contributing to the roof’s long-term performance.
When to Have the Whole System Evaluated
- A leak returns after a previous repair or appears near a chimney, wall, vent, skylight, or valley.
- Shingles, tiles, panels, ridge caps, or flashing look worn, loose, cracked, or displaced.
- The attic has staining, damp insulation, unusual heat, moisture, or signs of poor airflow.
- A roof is approaching replacement age and you need to understand whether repairs or replacement are more appropriate.
- A storm, fallen debris, or another event may have affected more than the visible roof surface.
Make System-Level Decisions
Regular visual checks and professional evaluations can catch changes before they grow. If you notice damaged coverings, staining, recurring leaks, loose flashing, or ventilation concerns, arrange roof maintenance and repairs in Tampa. A qualified inspection can determine whether a focused repair, ongoing maintenance, or a replacement assessment makes the most sense for the entire system.
For homeowners looking after a residential roof Tampa, treating the roof as an interconnected system helps protect its performance and expected service life. If you want a professional review of those parts together, schedule a roof inspection.
Need a professional assessment?
Get a Clear View of Your Roofing System
If you are concerned about a leak, worn materials, ventilation, or the overall condition of your roof, request a free roofing estimate from Affordable Roofing Systems.
Schedule a free roofing estimate