How to File a Roof Insurance Claim After Storm Damage in Florida
Need to file a roof insurance claim in Florida? Learn how to document storm damage, meet insurance deadlines, and keep your roof...

If your roof was damaged by a recent storm in Florida, the first step is to document the damage, review your home insurance policy, and file a claim as soon as possible. This guide from Affordable Roofing Systems walks Tampa homeowners through the full process—from spotting roof damage to working with an adjuster and getting repairs done right.
Our team of licensed roofing contractors and Tampa-based storm restoration experts helps Florida residents navigate claims confidently by providing clear documentation, insurance-ready estimates, and GAF-certified roof repairs.
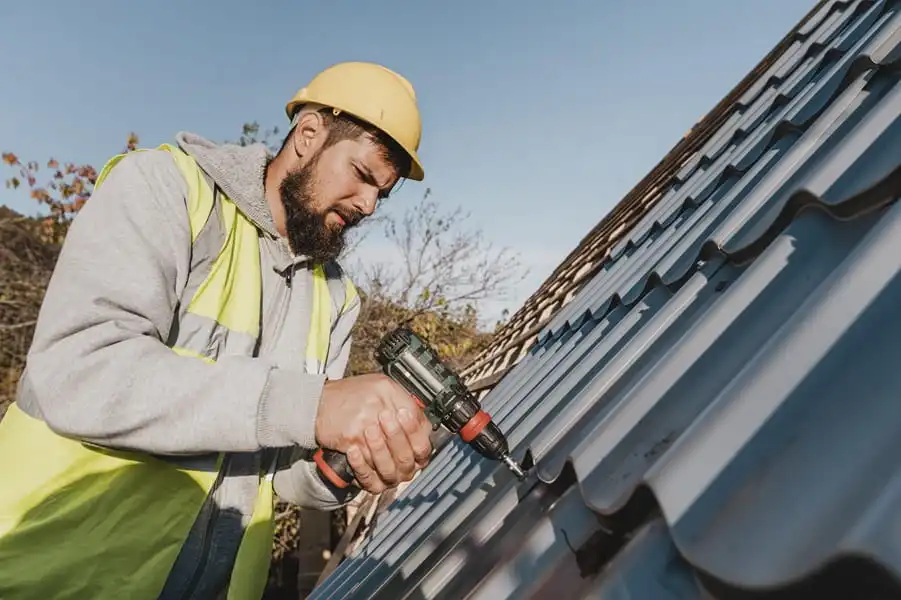
Step 1: Inspect & Document Damage Immediately
Florida’s climate brings sunshine, but also severe weather like a hurricane, tornado, or hailstorm that can seriously damage your roof. After a natural disaster, it’s important to inspect your roof as soon as it’s safe to do so. Early action can help prevent further damage and support a smoother home insurance claim process.
- Missing or lifted shingles
- Ceiling stains, wall discoloration, and damaged attic insulation are common signs of roof leaks and water damage
- Granule buildup in gutters
- Sagging spots or soft areas on the roof
- Damaged flashing, vents, or exposed underlayment
- Debris on the roof from branches or nearby structures
While some signs of damage are obvious, other signs are less so. It's important to schedule a professional roof evaluation to check for hidden storm damage before filing your insurance claim.
Learn more about the common signs of roof damage in our guide.

How to Document Roof Storm Damage:
- Stay on the ground—use zoom or binoculars for roof shots
- Take clear, timestamped photos and videos of all damage
- Include both wide angles and close-ups
- Document any interior leaks or ceiling damage
- Use pre-storm photos (if available) for comparison
Supporting Documents to Strengthen Your Claim for Roof Damage:
- Past inspection reports or repair invoices
- Local weather alerts or storm reports
- Notes or reports from your contractor
- Maintenance records demonstrating routine care
- Statements from neighbors with similar damage
These items help paint a complete picture for your home insurance adjuster and may speed up the claims process.
Want to protect your roof before the storm hits? Discover How to Prepare Your Tampa Roof for Hurricane Season in our guide.
Step 2: Know Your Florida Insurance Policy & Deadlines
Before you file a claim, review your homeowner’s insurance policy to understand what’s covered—and what’s not.
Common Policy Types for Roof Coverage:
ACV (Actual Cash Value):
- Pays the current value of your roof after depreciation. Lower premium, but often lower payout—especially for older roofs.
RCV (Replacement Cost Value):
- Pays the full cost to replace your roof at today’s prices. Higher premium, but better coverage for storm-related loss.
Don’t Miss These Key Policy Details:
- Hurricane or windstorm deductibles are often higher than your standard deductible.
- Exclusions may apply to cosmetic damage, older roofs, or wear and tear.
- Coverage may vary if your roof is over a certain age or if materials have been discontinued.
- Routine Maintenance may be a requirement for your coverage
- Some policies include special clauses for hail damage, especially if you live in hail-prone parts of Florida.
- Standard home insurance and roofing insurance policies usually don’t cover flood-related damage — you’ll need separate flood insurance for that.
Claim Deadlines in Florida:
- Initial claim: 1 year from the storm date
- Supplemental claim: 18 months if additional damage is discovered
- Some policies may allow up to 2 years—always confirm in writing

Step 3: Report the Loss to Your Insurer
Once you’ve documented the damage and reviewed your policy, the next step is to officially report the loss.
What to Include When Reporting the Loss:
- Timestamped photos of roof and interior water damage
- Date and time the storm occurred
- News alerts or weather reports confirming the event
- Inspection notes or receipts for any temporary repairs
Most Florida insurers are required to respond within 14 days and assign an adjuster to inspect your property. Submitting clear documentation early may help speed up reimbursement for repairs or emergency services.
Step 4: Get a Licensed Roofing Contractor Involved
In South Florida, your home insurance company will likely request an estimate from a state-licensed roofing contractor before approving repairs.
Working with a reputable roofer ensures:
- Code-compliant documentation that supports your claim
- Accurate detection of both visible and hidden roof damage
- Compliance with Florida Building Code and permitting requirements
Tip: Choose a locally owned GAF-certified contractor like Affordable Roofing Systems for roof work backed by quality materials and strong warranties. Be cautious of storm chasing contractors who go door-to-door after severe weather — they may lack proper licensing or disappear before completing the job.
When to Consider a Public Adjuster
If your roof claim is denied, delayed, or underpaid, a licensed public adjuster can:
- Represent your interests
- Negotiate a fair settlement
- Challenge low estimates or exclusions
Step 5: Work with the Insurance Adjuster
Be honest but cautious—avoid guessing about the cause or cost of the damage. Stick to facts, bring your contractor to the inspection, and let them speak to technical issues. Always request a copy of the adjuster’s report and follow up if anything is missing or undervalued.
Spot damage early and protect your home by reading our guide on Emergency Roof Repair After a Storm.
Step 6: Review the Settlement & Address Discrepancies
After your inspection, your insurer will send a settlement offer for your roof damage claim. Review it carefully for missing line items or underestimates—this is where policy type matters most.
For example, see the chart below showing how payouts differ under ACV vs. RCV:
| Item | ACV (Actual Cash Value) | RCV (Replacement Cost Value) |
| Roof Age | 10 years old | 10 years old |
| Original Roof Cost | $20,000 | $20,000 |
| Depreciated Value | $12,000 | N/A |
| Payout After Deductible | $12,000 – deductible | $20,000 – deductible (after work proof) |
| Final Homeowner Cost | Covers depreciated value only | Covers full cost of replacement |
Tip: Have your contractor review the settlement and submit a supplement if damage was missed.
Related: Roof Repair or Replacement: Making an Informed Decision
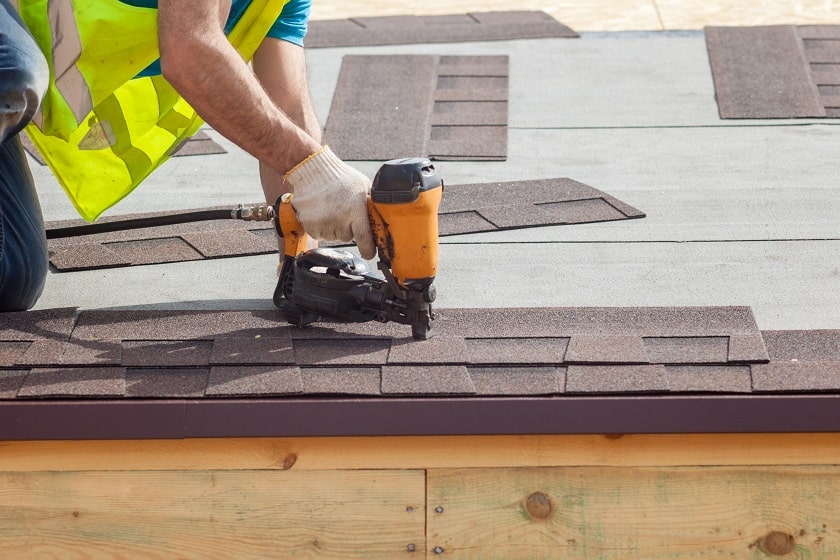
Step 7: Make Repairs & Finalize Claim
Once the settlement is approved, hire a licensed Florida roofer to complete repairs that meet current code.
Understanding Florida’s 25% Roof Replacement Rule
If 25% or more of your roof is damaged and your permit is dated before March 1, 2009, full replacement may be required. For newer homes, repairs may be allowed—even if more than 25% is affected.
What to Do After Repairs:
- Keep all receipts and photos
- Submit documentation to your insurer
- Receive your final payment (depreciation holdback, if applicable)
✅ Choosing a licensed, insured contractor like Affordable Roofing Systems helps you stay compliant and protected with our Storm Damage Restoration Services.
Step 8: Dispute & Legal Remedies
If your claim is denied, you still have options:
- Submit a supplement through your contractor
- Request a reinspection
- File a proof-of-loss
- Seek free mediation through the Florida Department of Financial Services (DFS)
- Consult a public adjuster or insurance attorney to file an appeal if your roof claim is denied or undervalued
- If your claim involves water intrusion but your insurer labels it as flood-related, you may need legal help to clarify whether it falls under your roof or flood policy
These steps may feel overwhelming—but they’re often necessary to get the coverage you deserve after major storm damage.
Step 9: Keep Long-Term Documentation & Reviews
Staying organized helps protect your home in the future. Store these items safely—even after your claim is closed:
- Photos of completed roof work
- All estimates, invoices, and receipts
- Insurance settlement letters and inspection reports
- Emails or letters from your adjuster
Keeping a paper trail of past roof work is especially helpful in areas prone to severe weather like Tampa.
Why Submit Wind Mitigation Form 1802?
Doing so may help:
- Reduce your premiums
- Strengthen future claims after storms
Disclaimer: This article is for general informational purposes only and does not constitute financial, insurance, or legal advice. Always review your specific homeowner’s insurance policy and consult your insurance company or a licensed professional for details about your coverage and claims process.
Ready to Get Started with Storm Damage Restoration?
Dealing with Florida's extreme weather is stressful enough, navigating your insurance claim shouldn’t be. With the right information and a trusted local roofing expert on your side, you can protect your home, your finances, and your peace of mind.
At Affordable Roofing Systems, we’ve helped countless Tampa homeowners through the roof insurance claim process. From free roof inspections to photo documentation, supplement support, and code-compliant GAF-certified repairs, we’re with you every step of the way.
Contact our Tampa roofing specialists today.
9511 N Trask St Ste A, Tampa, FL 33624 | Get Directions
(813) 542-8462 | Get a Free Roofing Quote